This walkthrough documents the Windows 11 and REMnux lab I set up for malware analysis, with INetSim providing simulated network services. The later static analysis and dynamic analysis posts use this environment.
Requirements
This Project requires the Virtualization of a Windows 11 VM using VMware, along with REMnux, i.e., a toolkit for reverse engineering that can also be installed as a Linux Distro. The Windows 11 VM needs to be isolated from the host machine and the outside network, and no other traffic to the host or other machines should be possible. REMnux is to be the only means of contact to a simulated internet and network for the Windows 11 VM. It is also crucial that any and all traffic coming from the Windows 11 VM is terminated before any contact to the outside of this sandbox environment. The purpose of this setup is to emulate the malware as closely as possible to a real-world scenario, with maximum security and no risk. To reach the goal of making this simulation as realistic as possible, it is also required that INetSim is set up to emulate the needed internet services, so that we can also test the impact of the malware when trying to reach those services without it actually causing any harm to the real thing.
Technical Setup of the VMs
Windows 11 VM setup
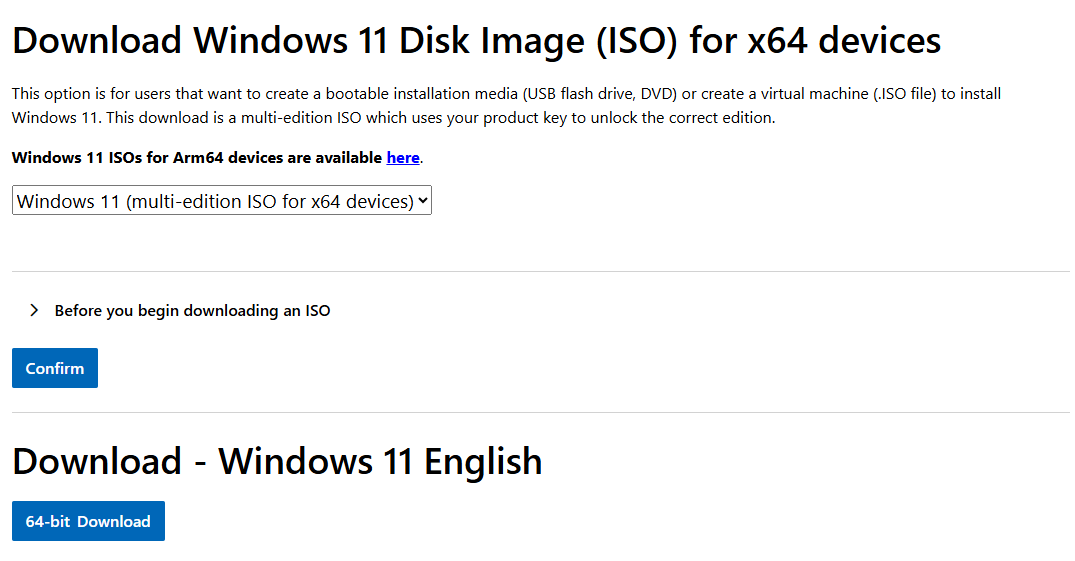
The first initial step was downloading the disk image for Windows 11 (ISO) for x64
Installation of the VM from the ISO file using VMware Workstation Pro 17.
Disabling security features on “Victim” (Windows 11 VM)
Disabling Proxy settings, Firewall, Defender permanently, and all other security measures that can impact malware and help detect it are crucial for running the malware as intended and as efficiently as possible. Ensuring Windows Defender is permanently disabled by editing the Registry and Local Group Policies.
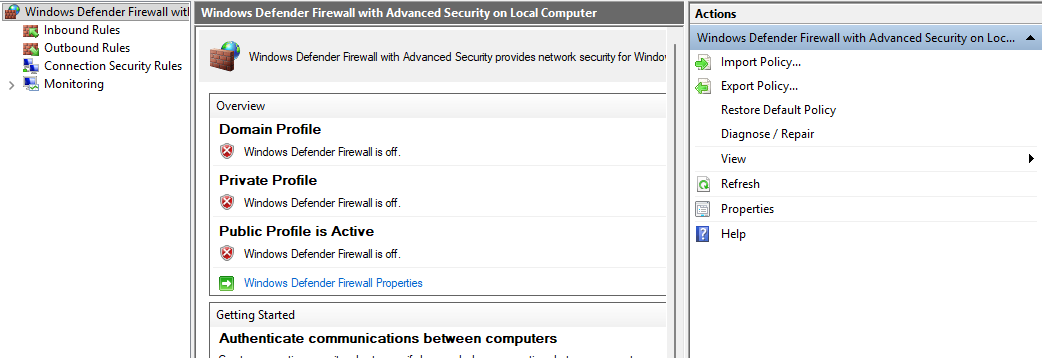
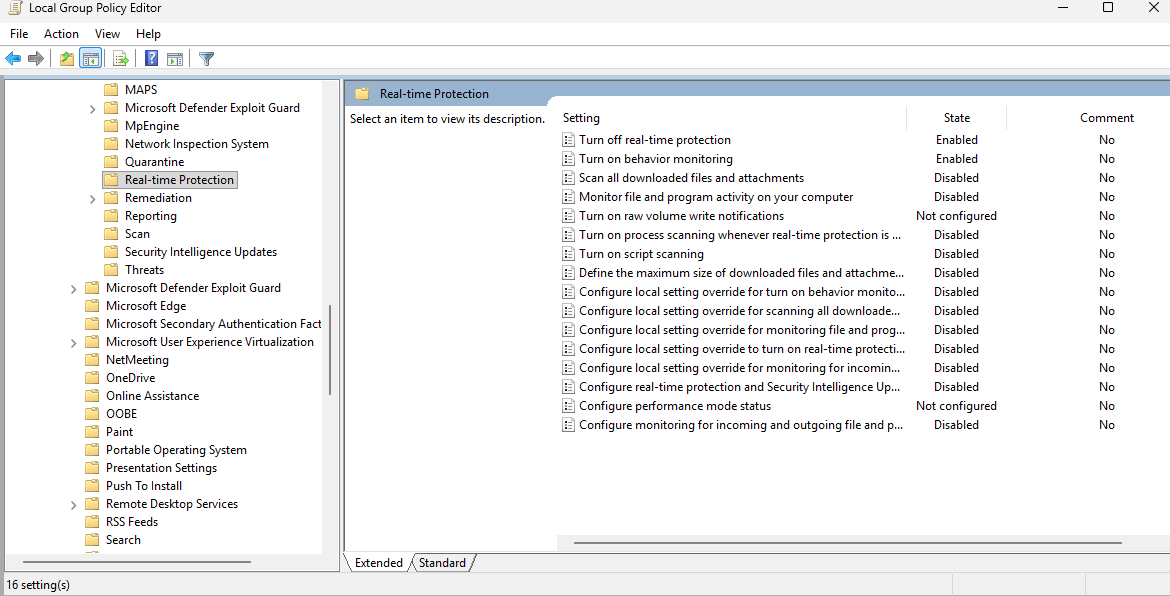
Disabled all the following settings and configurations: Proxy auto detect, Real-time Protection, Core Isolation, Controlled Folder access, Permanently Disabled Firewall across all networks, App protection, Exploit protection, and Permanently disabled Windows Defender, among other settings.
Tool installation process
Installation of strings/FLOSS, i.e., a malware static analyzer that takes strings and binary data from malware, which will be very useful throughout this course. Source from GitHub, following the installation guide provided in the repository.

Testing the functionality of floss.
Proceeding with installation of PEview (a tool used to analyze 32-bit PE and COFF files).
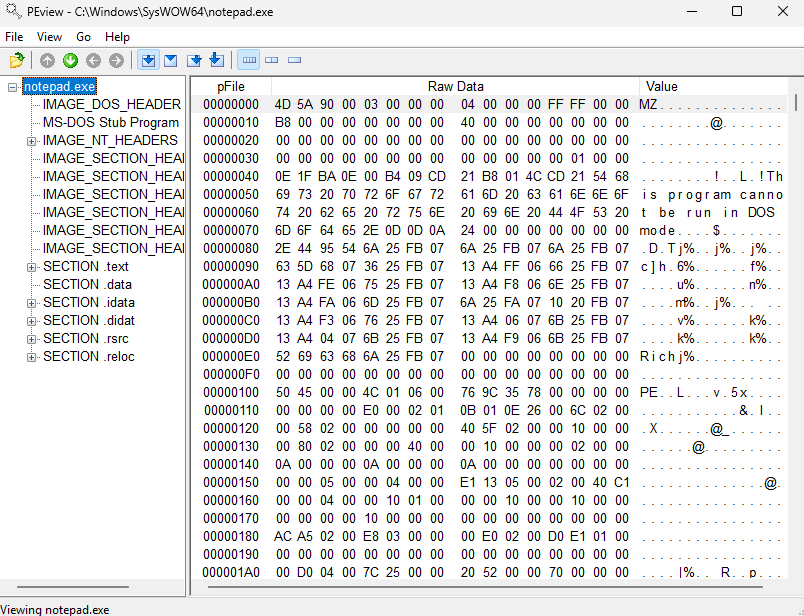
Installed PEview and after doing some research on Portable Executable files decided to test it simply with a windows ready PE such as notepad.exe found on “C:\Windows\SysWOW64” as seen in the screenshot above.
UPX (Ultimate Packer for Executables) was installed and will be later used to compress and pack executables, as needed.
PEstudio will also be needed as a static malware analysis, mainly used to make first assessments on an executable to map any suspicious strings within. As seen in the example below.
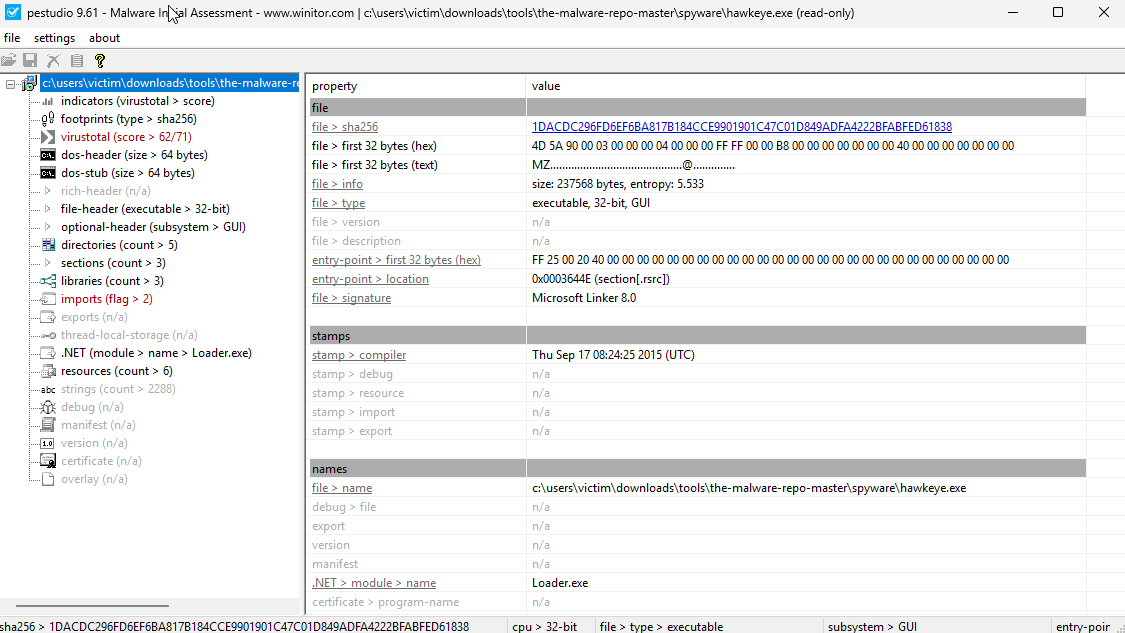
Here I tested PEstudio using a spyware named “HawkEye.exe”.
Capa is another tool developed by Mandiant, used to analyze PE, ELF, .NET modules, and other executables, and can flag things like whether an executable is a backdoor or runs another suspicious service. The installation was done by following the official guide in the tools repository, and the tool was tested using a malware sample.
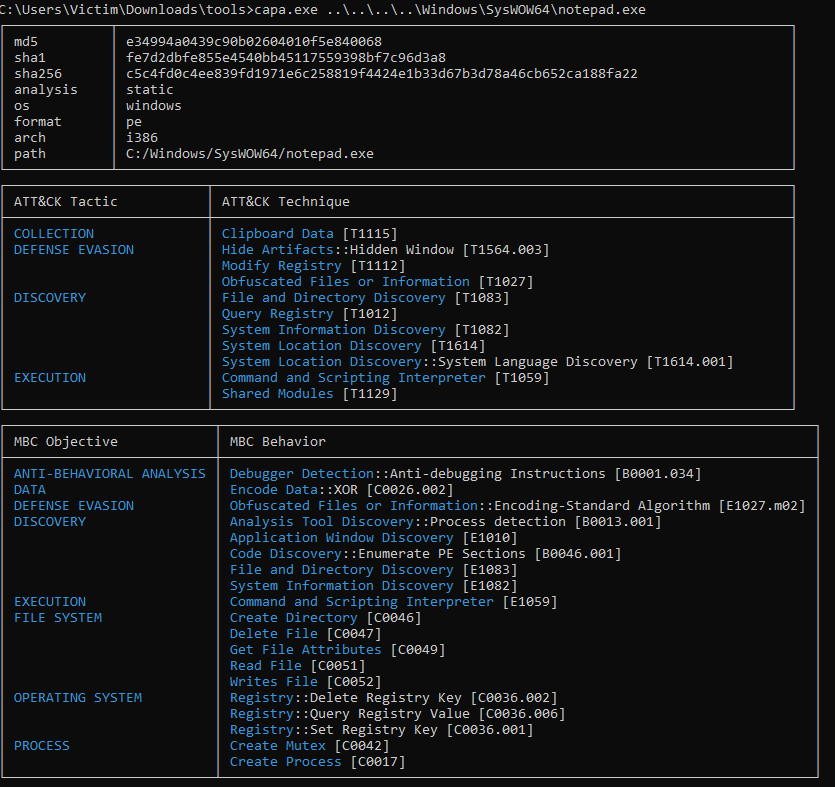
As a test run, notepad.exewas used as a PE file.
Wireshark is one of the most crucial and well-known tools in cybersecurity. It is used for tasks such as packet tracing, network configuration, routing, and capturing handshakes. In this case, it will be used to analyse emulated traffic between the Windows VM and the REMnux Wi-Fi, looking for any suspicious traffic caused by the malware that will be run for testing purposes.
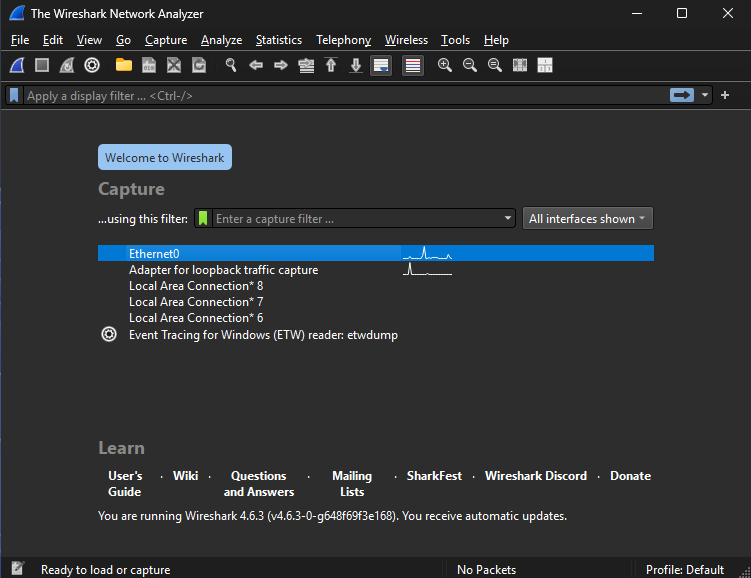
At the current configuration state, we can see that the Ethernet0 interface is active as an internet connection, which is still needed in this phase and will later be replaced by the REMnux and INetSim configurations.
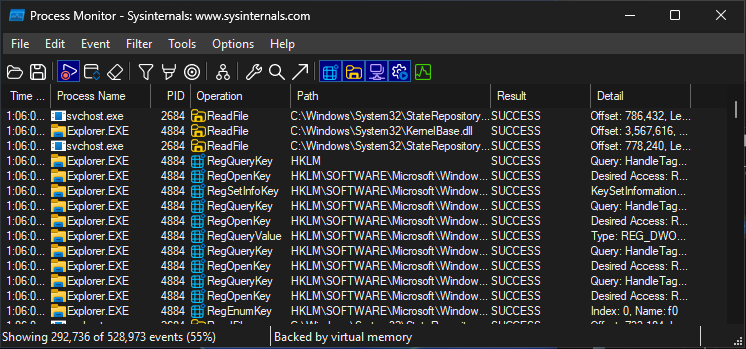
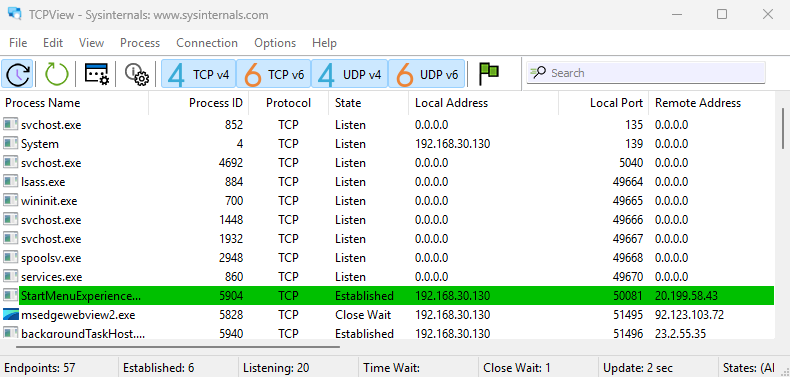
Next on is the installation of Sysinternals tools Process** Monitor** and TCPView. Procmon is a tool for advanced monitoring that displays processes, the registry, and the file system in real time. It also includes different sophisticated filtering based on need. While TCPView is used to show all TCP and UPD traffic and endpoints.
Ncat is a tool that will be used for reading and writing data across the network, and it uses TCP and UDP.
Cutter is a platform for reverse engineering with the user experience and customization in mind, a tool “made by reverse engineering for reverse engineers.” It will be used for general reverse engineering purposes.
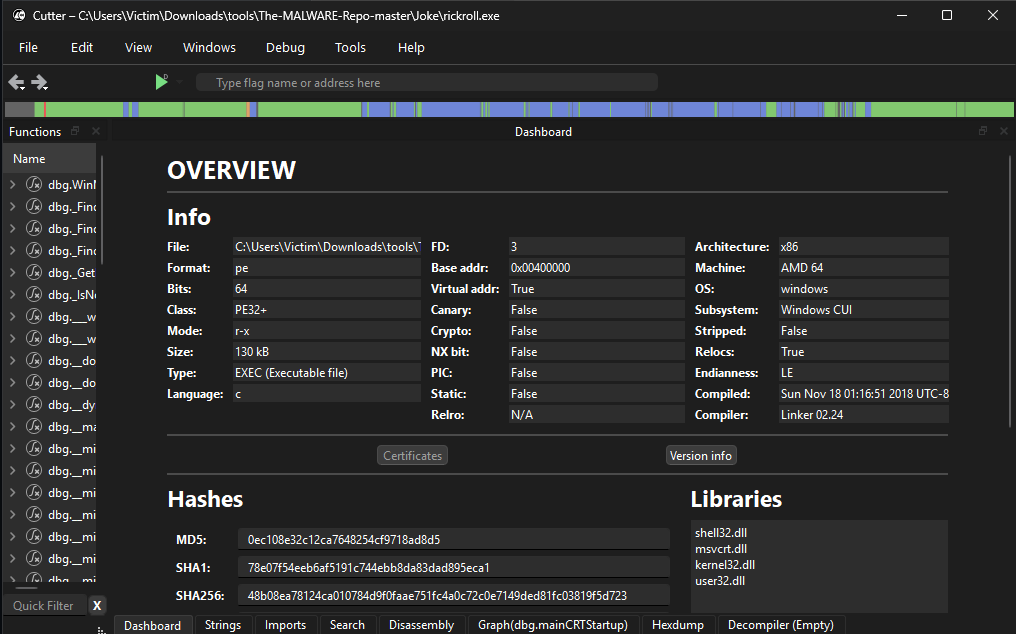
Using a joke malware “rickroll.exe” to test the functionality of Cutter.
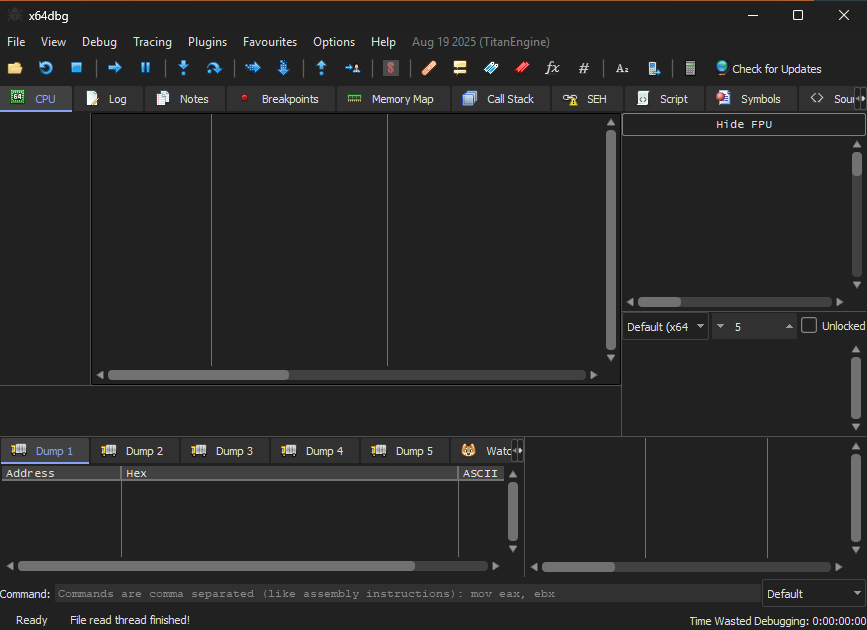
Next, the installation x64dbg, which is an open source debugger for Windows.
System Informer is a Windows tool used for debugging, analyzing, and detecting malware. It also shows the allocated use of system resources, which can be very helpful when trying to detect malware.
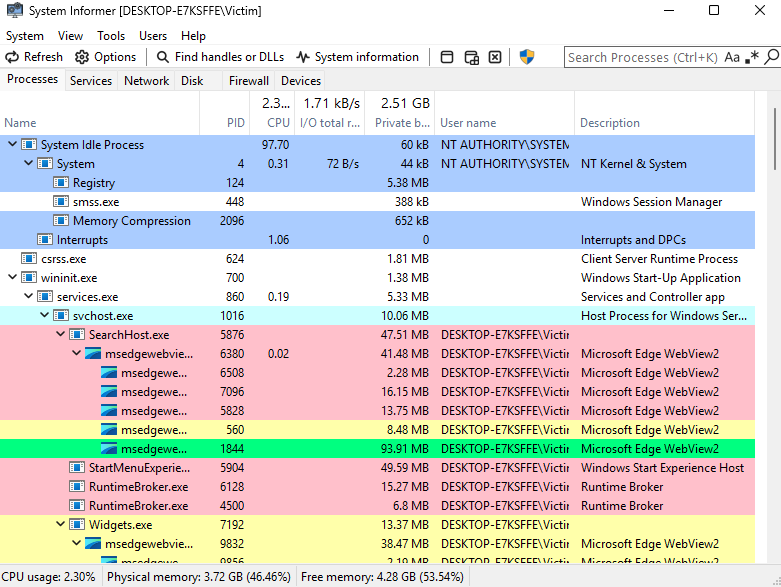
YARA is one of the most important tools for identifying patterns and samples of malware. With YARA, we can create rules to classify malware into families based on their binary behaviour.
Configuration of REMnux and INetSim and creation of an isolated sandbox environment
One of the most important things needed to set up when creating this isolated sandbox environment is the configuration of REMnux and INetSim, and connecting it to the Windows 11 VM, thus creating a VM-to-VM connection that does not have any external connection to the internet or host, and with FakeNet-NG creating “fake” or emulated internet traffic. First, created a LAN segmentation to be used as an internal network between Windows and REMnux specifically.
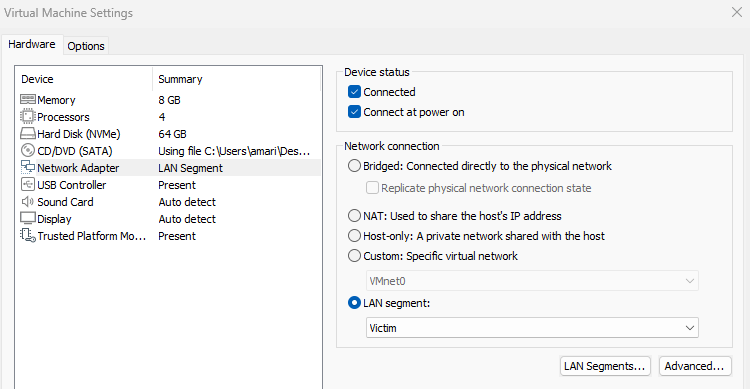
Next up, I configured and installed INetSim on REMnux using the commands provided in the INetSim guide.
# echo "deb http://www.inetsim.org/debian/ binary/" >
/etc/apt/sources.list.d/inetsim.list

# echo "deb-src http://www.inetsim.org/debian/ source/" >>
/etc/apt/sources.list.d/inetsim.list

# wget -O - https://www.inetsim.org/inetsim-archive-signing-key.asc | apt-
key add -

# apt update
# apt install inetsim
After following the guide of installing there was a configuration of inetsim.conf file to correctly setup dns service and port. Done through accessing the conf file by running this command.
sudo nano /etc/inetsim/inetsim.conf
The configuration of the inetsim.conf alone was not enough because after all the possible changes the dns service would start but not work correctly as seen in the image below.
The DNS troubleshooting notes for this step are incomplete. The screenshots below document the later network configuration and connectivity test.
After this configuration, I tested INetSim by running INetSim on the REMnux terminal. I continued setting up a static configuration in this isolated network, using REMnux as the gateway.
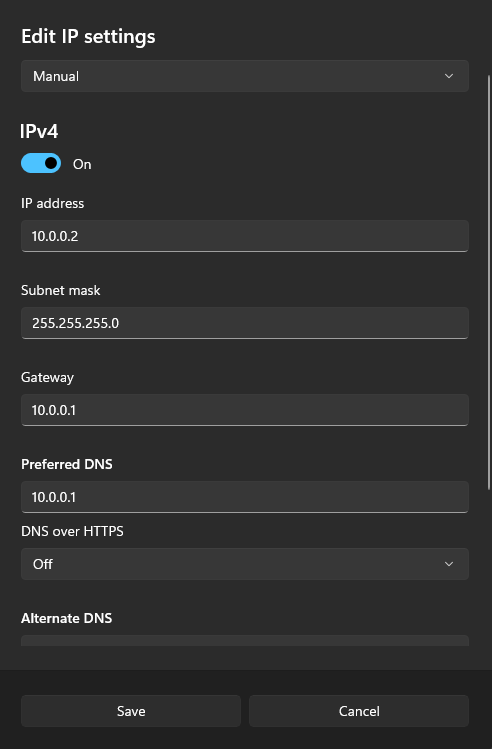
Then I configured the IPs on REMnux.
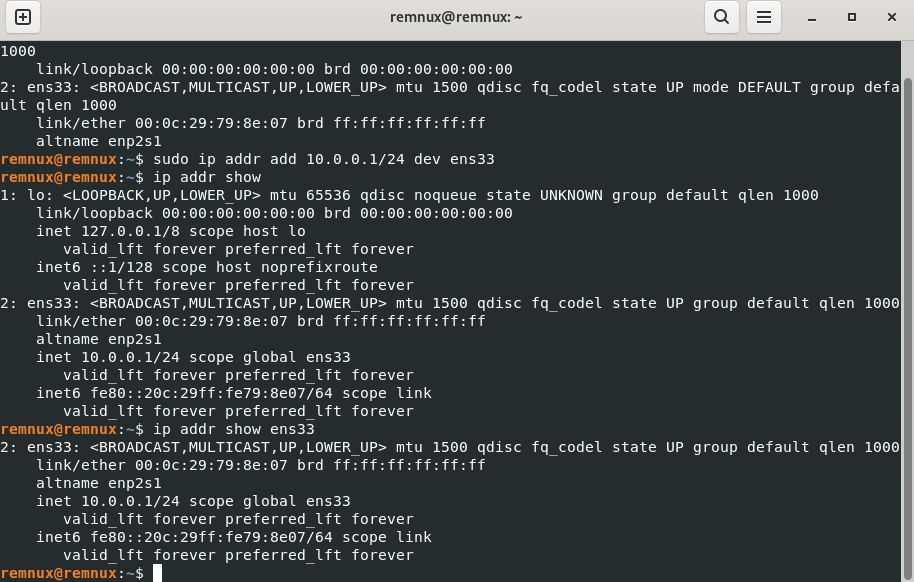
As seen on the screenshot above, the interface ens33 is connected to the VM.
Now I ran INetSims service and tested through pinging 10.0.0.1 from the Windows VM.
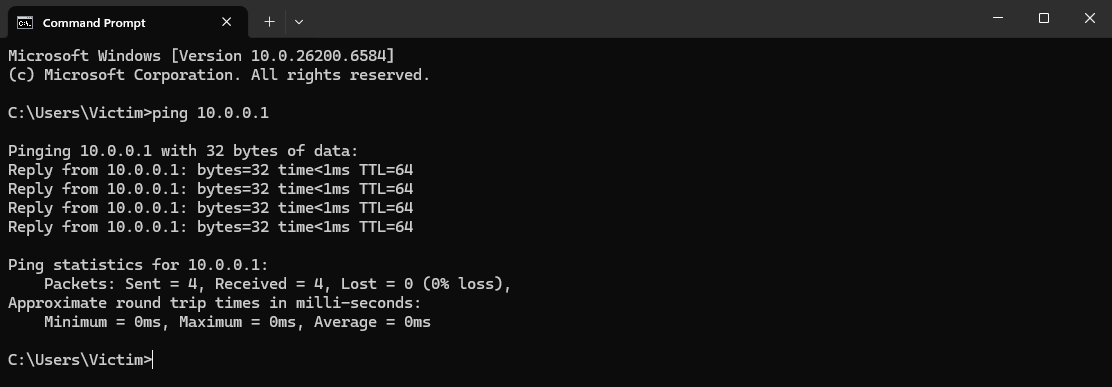
The pings were successful and the traffic was received by REMnux.
Conclusion
This project serves as a first step into the cybersecurity practice of malware testing, analyses, and reverse engineering of malicious files and applications as an adversary tradecraft. It emphasizes safe practices and regulation that will be needed in all aspects of cybersecurity and cyberspace by creating a fully sandboxed and isolated testing environment when dealing with malware that can infect whole networks and devices if not properly isolated. This project touches on important configurations that will be needed for following any path in cybersecurity, whether that is offensive or defensive, as the practice of reverse engineering can be used both to replicate, mimic, or enhance malware that already exists and, e.g., to learn patterns and behaviors of malware and configure YARA rules to ensure safety from those malware family types.